Sapphire products
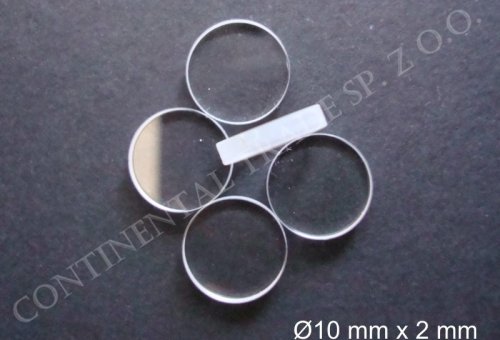
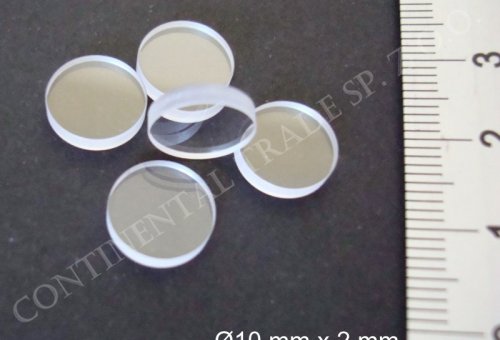
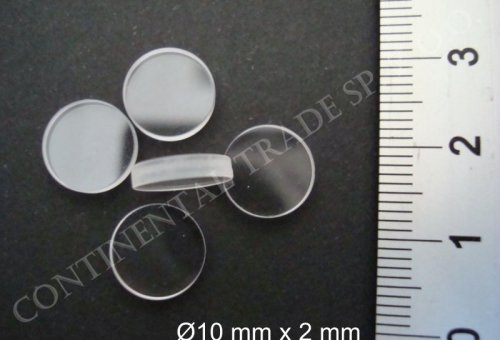
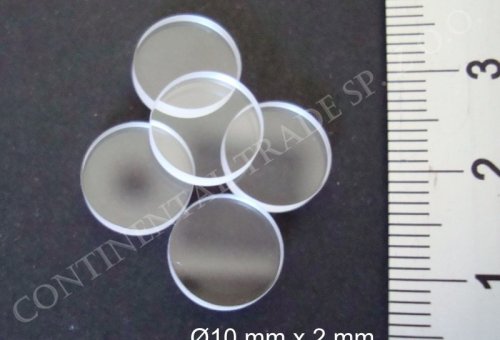
Sapphire, is one of the hardest, most durable and scratch resistant materials, offers a broad transmission range from UV to mid infrared wavelengths (250–5000 nm). The material is able to withstand extreme environmental conditions and temperature changes. We offer sapphire products in different forms (shapes), dimensions, and in customized processing stages, made by the world's leading producers. This ensures the high quality of products and parameters stability.
The main features of the sapphire are described on page Sapphire products in chapter: Our offer/Technical glass/Types of materials
There are different shapes (from round to square) and dimensions available. There is a possibility of customized processing: polishing and coatings (e.g. antireflective coating). Products can be made in three levels of accuracy (see. table below).
| Attribute | Quality level | ||
|---|---|---|---|
| Standard | Precision | Ultra precision | |
| Size | round diameter from 10 to 300 mm square side from 10 to 210 mm |
||
| Size tolerance1 | ± 0,2 mm | ± 0,10 mm | ± 0,05 mm |
| Thickness1 | from 1 to 40 mm | ||
| Thickness tolerance1 | ± 0,2 mm | ± 0,10 mm | ± 0,05 mm |
| Parallelism1 | < 5 arc minutes | < 1 arc minutes | < 30 arc seconds |
| Surface Accuracy (PV)1 | 5λ (546 nm) | λ/2 (546 nm) | λ/10 (546 nm) |
| Surface Quality (scratch-dig)2 |
60 - 40 | 40 – 20 | 20 – 10 |
| Surface Roughness (Rq) | < 10 nm | < 3 nm | < 1 nm |
| AR Coating | custom designed | ||
| Order quantity | upon customer specification, please call us. | ||
| Delivery Time (week) | 6 – 10 weeks, upon raw material availability | ||
We offer sapphire material in optical quality and with customized characteristics, concerning dimensions and shapes (round, square, and more, diameters up to 300 mm). Type surfaces and coatings applied depend on the client's application. Our suppliers have extensive experience in manufacturing and processing of sapphire glass, uses most advanced equipment and state-of-the-art metrology for manufacturing and quality control, which guarantees high quality of products and parameters stability.
Scrach-dig - what does it mean ?
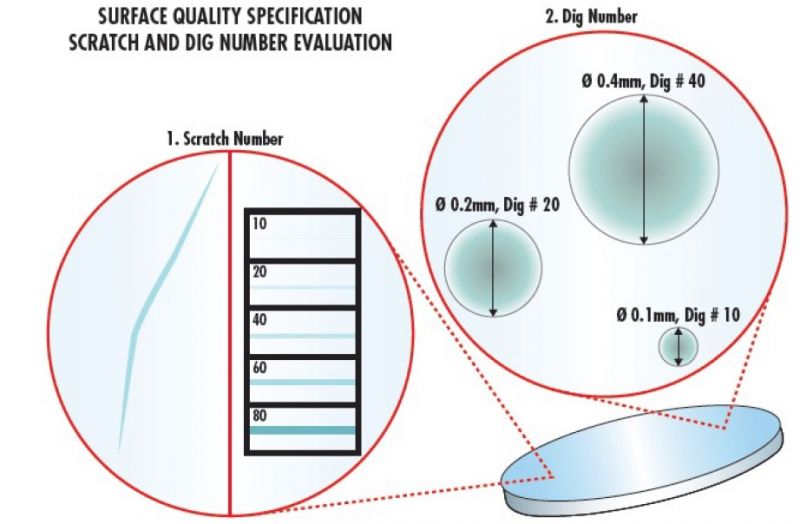 The surface quality of an optical component is an evaluation of the surface imperfections that may be caused in the manufacturing or handling process. The most common specification used to describe the scratch-dig specification is the one used in the U.S. Military from MIL-REF-13830B; General specification governing the manufacturing, assembly, and inspection of Optical Components for Fire Control Instruments.
The imperfections are specified by the typical designation of "20-10", "60-40", or "80-50". The first number (in simplified) indicates the maximum width allowance for a scratch measured in microns, and the second number is the maximum diameter for a dig in hundredths of a millimeter. Thus, 60-40 means the apparent width of the scratch is 60 microns and the diameter of permissible dig is 0,4 mm.
| Scratch-Dig | Quality | Applications |
|---|---|---|
| 80-50 | Very Low | Acceptable quality, can be easily fabricated |
| 60-40 | Low | Commercial quality, used for non-critical low power laser and imaging applications, where scattered light is not as important as cost. |
| 40-20 | Moderate | Standard scientific research applications for low to moderate power laser or imaging, which tolerate little scattered light. |
| 20-10 | High | Precision quality, minimum standard for laser mirrors and extra-cavity optics used in moderate to high power laser. Minimizing scattered light. |
| 10-5 | Very High | High precision quality, used for the most demanding applications such as intra-cavity laser optics or high power applications. |


